User Manual
This manual describes how the cabinet application can be used for administering student records. It focuses on the user's perspective but is also suitable for technical staff responsible for implementing the application in their university's technological landscape to learn about the user interface and functionalities of cabinet.
User Flows
Search for documents or persons based on common values
Using various combinations of filters and search strings, users are able to find documents or persons that match the desired criteria. The filters can be configured (by selecting the button Configuration) to show only the needed categories.
Tip
Activating fewer filters makes the search faster than having all filters active.

Search for a specific person
Using the search bar, users can type in any of the following data values of a person into the search bar: name, last name, matriculation number, CAMPUSonline identification number, and birthdate. It is useful to know the following features:
- The search is dynamically applied and adapted after each typed-in character.
- Strings that contain diacritics are even being matched using their non-diacritic equivalents. For example, a search for Hodzic equally matches Hodžić as well.
- For searching the person's name and the document type, the search uses a typo tolerance algorithm when there is no exact search match. In other words, typographical mistakes or minor uncertainty still lead to results.
- When multiple persons match the entered string, users can either limit the search results by selecting filters, or if they identify the desired person in the results, use the button Focus, which excludes all other persons from the search results.
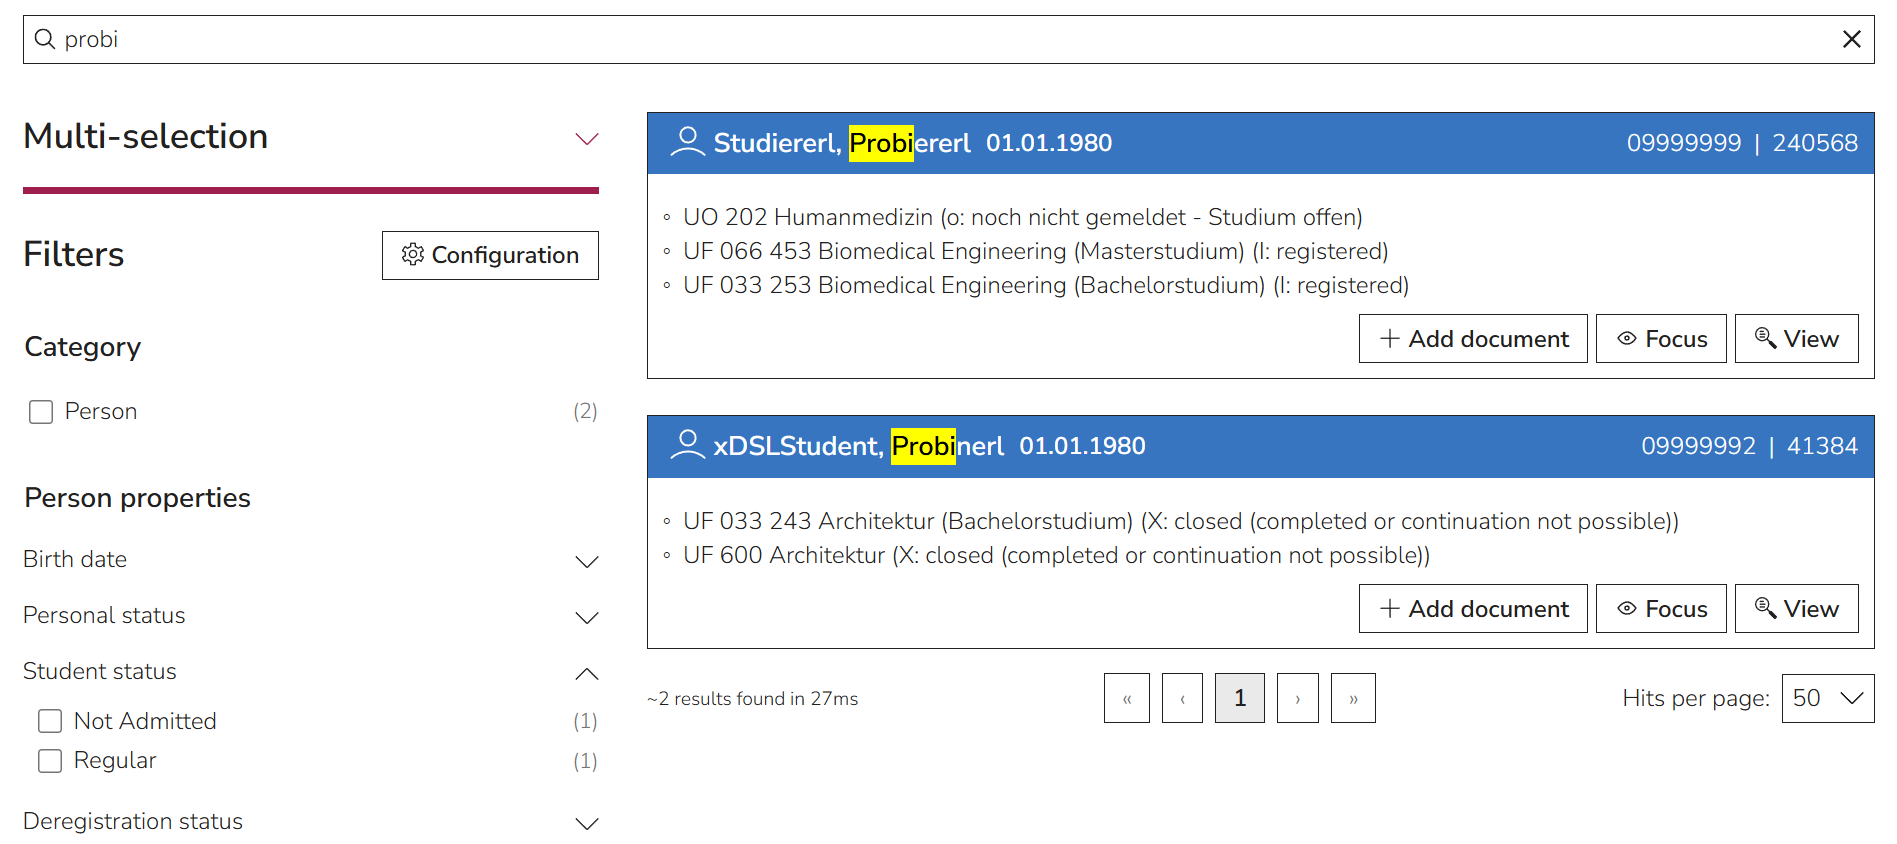
- The search string could match not only persons, but also documents. In this case, users can use the filter Category to select only persons or only documents.
Apply actions to a person
The source of personal data in cabinet is CAMPUSonline. Therefore, editing a person's data directly in cabinet is not possible. However, the person's view modal contains a direct link to the CAMPUSonline profile (i.e., the button Edit data in …), where data can be edited. This data adjustment automatically gets updated in cabinet after closing the CAMPUSonline window.
Personal data gets automatically synchronized with CAMPUSonline on a regular basis every 10 minutes, as well as after editing in CAMPUSonline, when the browser tab of CAMPUSonline gets closed. It can also be triggered manually for a selected person by selecting the Synchronize data button.
It is also possible to export a person's data as a PDF using the button Download.

Another important feature is to add documents to persons, which is described in the user flow Add a document to a person.
Export data of multiple persons at once
The cabinet user interface allows exporting the data of multiple persons at once.
For this, one first needs to open the Multi-selection tool and use it to select the needed persons. The best way to do this is in combination with the search bar and filters.
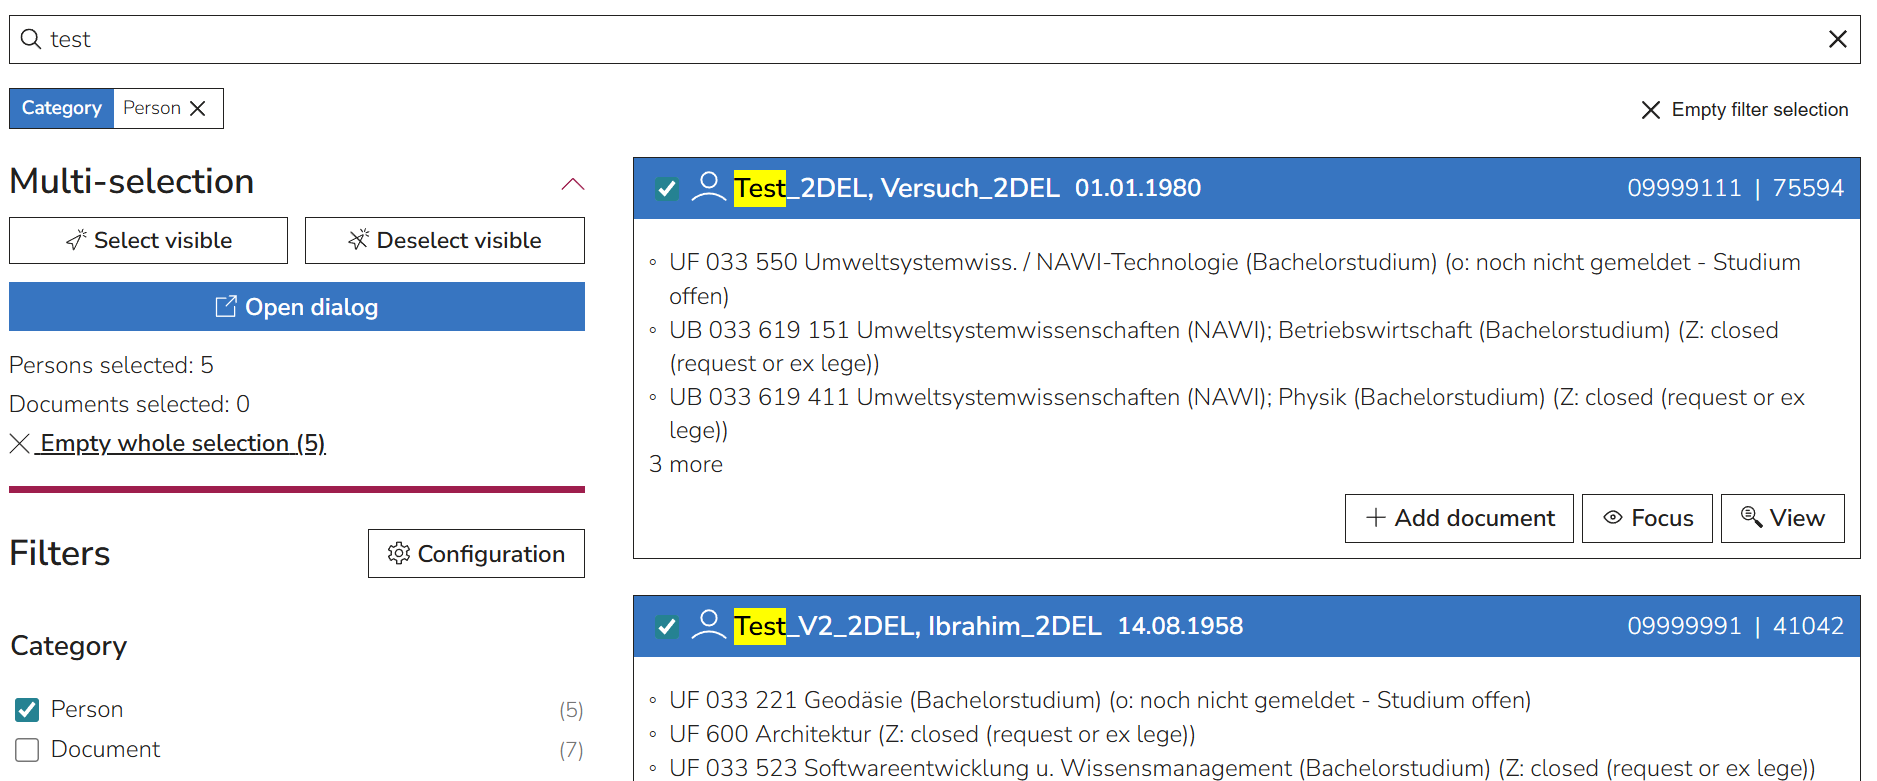
The Open dialogue button then opens the multi-actions tool for persons and for documents. In the tab Persons, one can configure which data should be shown and use the Export functionality to export the configured data table as CSV or Excel or to download PDFs of the persons' data of all selected persons.

Add a document to a person
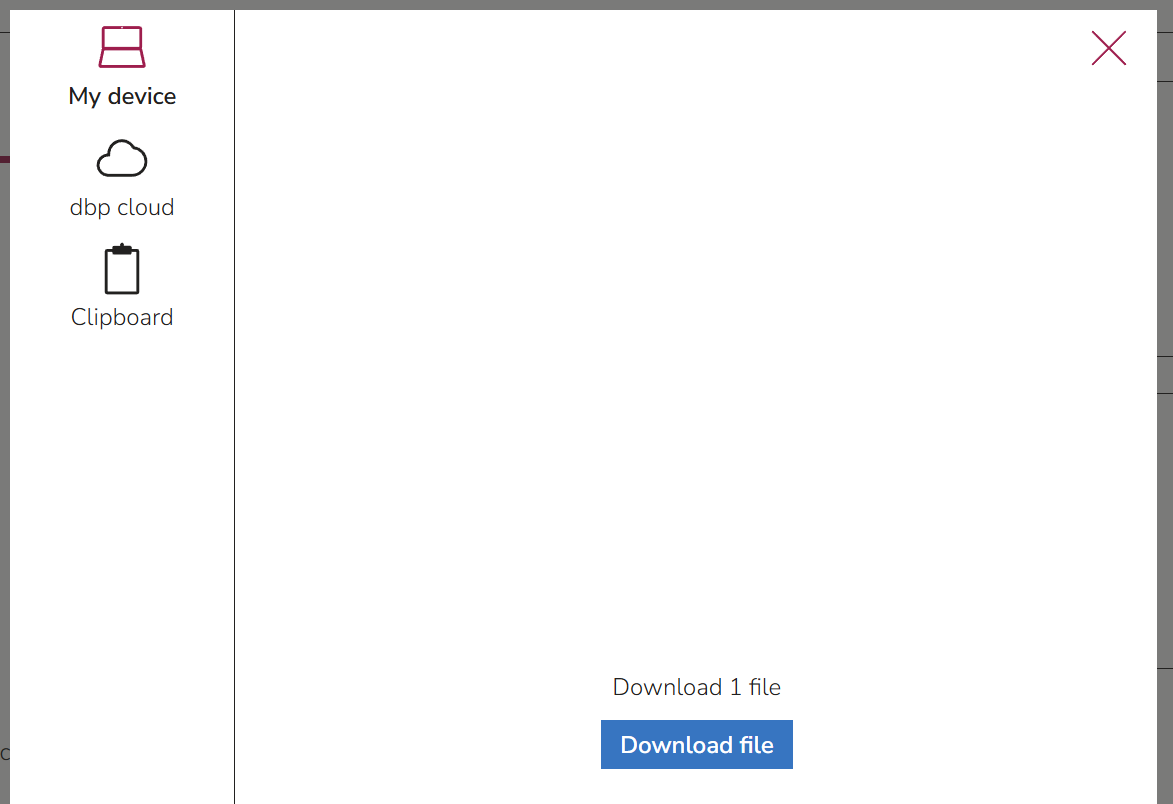
To manually add a document to a person, users first need to search for that person, as described above. Using the button Add document, a document can be added by uploading it from the personal computer, from the cloud, or from the application clipboard.
Important
It is important to note that PDF/A (conformance level 2b, 1b, 1a, 2u, and 2a) is the only acceptable file upload format.
The system validates the conformity on upload and rejects non-PDF/A formats in order to ensure long-term preservation. Documents in other formats need to be converted to PDF/A first. This is possible using Adobe Acrobat, even with multiple files at once. For detailed instructions, please visit Adobe Acrobat or read our chapter How to create and validate PDF/A files.
After uploading the file, the user needs to assign a document type (for example, Personal licence). Depending on the selected type, there are a number of data fields, of which some are required, and others optional. Additionally, the system automatically saves the upload and update time, as well as the name of the person who last modified it.
Unlike documents that need uploading, documents generated in CAMPUSonline are being sent to cabinet automatically upon creation and assigned to the corresponding person. Distinguishing them from manually uploaded documents is possible using the filter Digital document source.
Search for a specific document
The best way to find a document file in cabinet would be to search for a person first and then use the button Focus, which excludes all other persons and their documents from the search results. This view now represents a student's registry. The listed documents can be further limited by applying the Document properties filters.
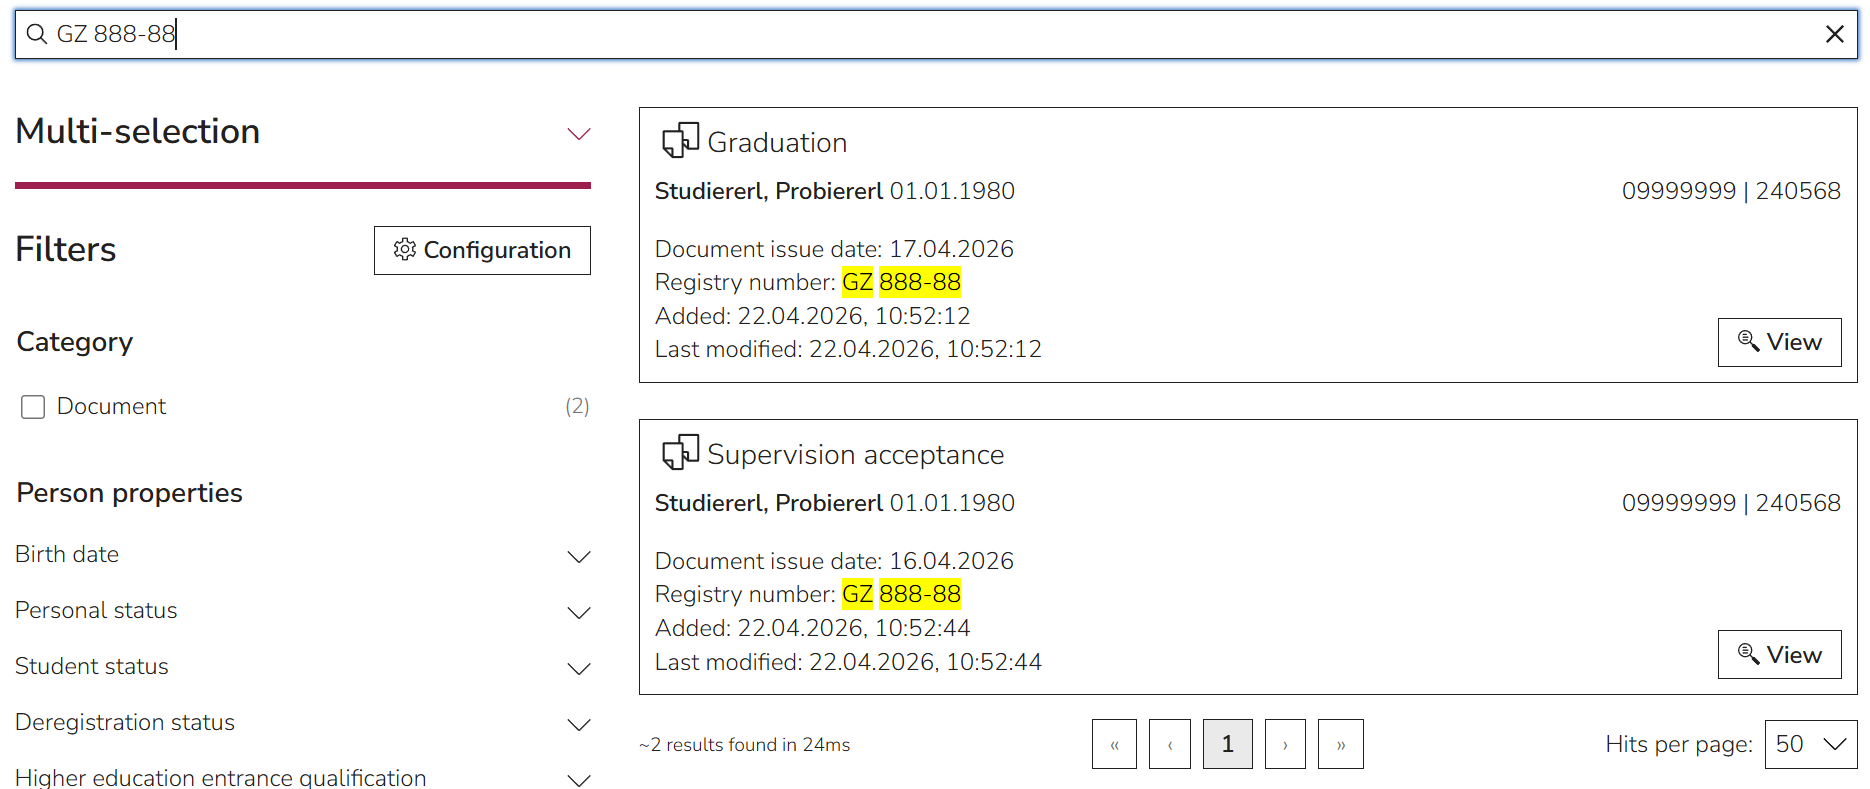
Documents can also be found using the search bar. This can especially be practical if the data field Registry number is filled out consistently, which makes it possible to quickly see all documents that belong to a certain registry case. Other data fields that match the entered search bar string are the person's name, last name, matriculation number, CAMPUSonline identifier, and birthdate, as well as the document type.
Apply actions to a document
Once uploaded, documents can be edited, deleted, downloaded, or exchanged between integrated applications.
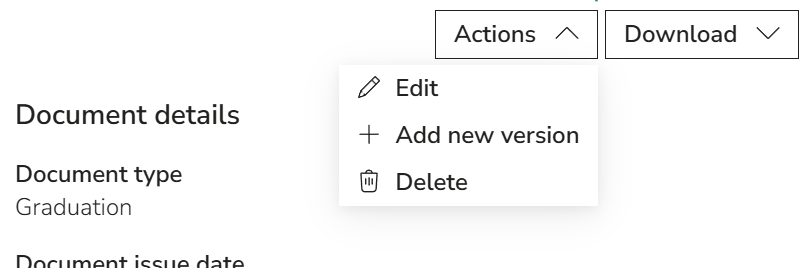
Editing
Using the action Edit in the document view, it is possible to edit document data without re-uploading the file itself, but also to re-upload a file without having to re-enter the data.
Editing of data for automatically added documents from CAMPUSonline is only possible for specific data fields, like Registry number and Comment.
Adding a new version
cabinet has a flexible concept of versions that can be fully controlled by the user. If a document is added to cabinet in this way instead of using the button Add document in the person's hitbox, that uploaded document will be grouped with the already existing document. To read more about this concept, see the chapter How the grouping of documents works.
Note
Grouping documents manually is only necessary and possible for manually uploaded documents. Automatically added documents from CAMPUSonline get grouped automatically depending on the agreed-upon criteria (for example, a mutual document type).
Deleting
If documents are selected for deletion, they stay in the database for an additional agreed-on time and can be found by selecting the radio button Recycle bin in the facets. Only after the expired time will they get irrevocably removed.
To read more about the retention periods, see the chapter How to treat retention periods.
Downloading
For downloading the document, users can decide if they want to apply the action to the uploaded file, the added metadata in JSON format, or both in a ZIP directory.
Using the same Download button, it is possible to transfer documents between cabinet and other digital blueprint applications, if they are integrated in cabinet as activities (i.e., if you can find them under the Menu). This can be done by choosing Clipboard as the targeted download location. After this is applied, users can open the desired activity (for example, eSign for electronically signing documents) and continue by uploading the same file from the Clipboard.
Apply actions to multiple documents
The cabinet user interface allows exporting and deleting multiple documents at once.
For this, one first needs to open the Multi-selection tool and use it to select the needed documents. The best way to do this is in combination with the search bar and filters.
Tip
To select some obsolete document versions, one should make sure to check the Include obsolete versions box in the filters. To select some deleted documents, one can switch the filter from All active documents to Recycle bin.
The Open dialogue button then opens the multi-actions tool for persons and for documents. In the tab Documents, one can configure which data should be shown and use the Export functionality to export the configured data table as CSV or Excel or to download PDF files of the documents with or without the JSON metadata.
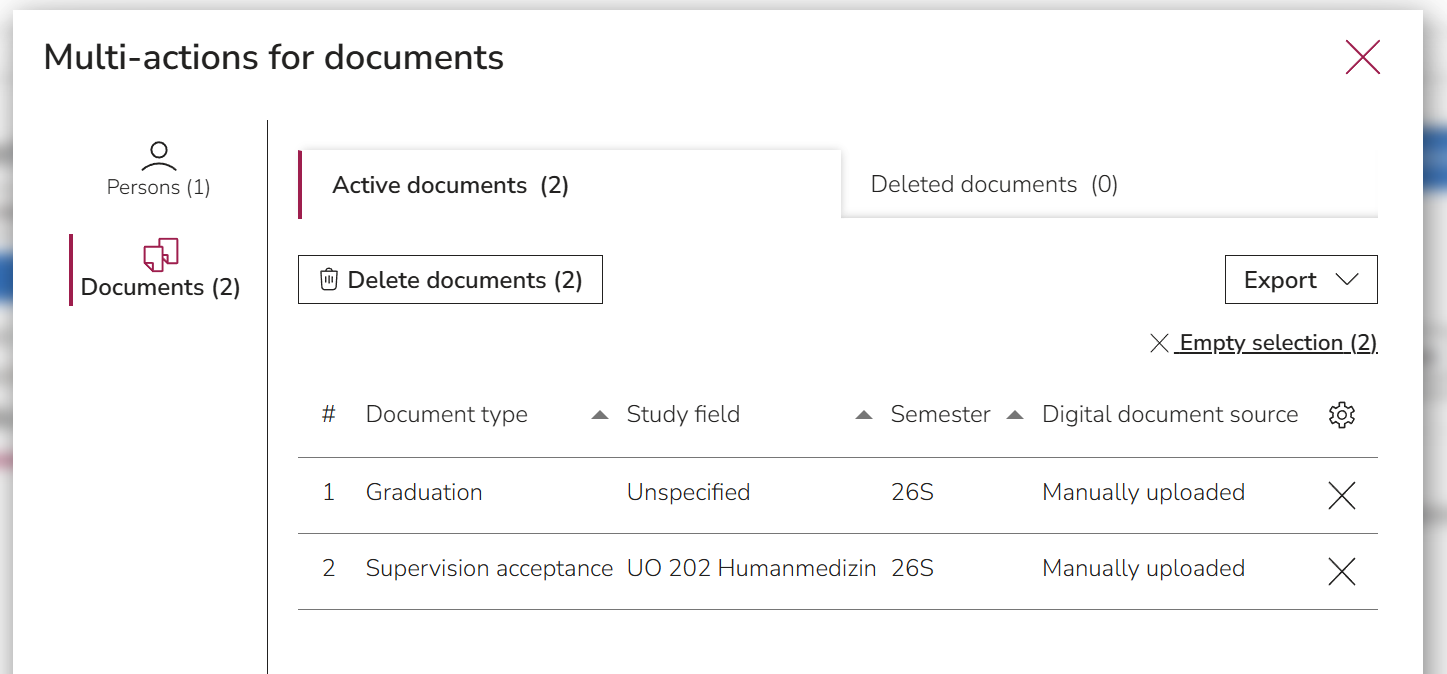
To remove selected documents individually, the X button can be used. The complete selection can be cleared using the Empty selection button.
To instead delete the selected documents, the Delete documents button can be used. Deleted documents will be displayed in a separate section of the multi-actions dialogue.
FAQ
How to create and validate PDF/A files
To guarantee the long-term preservation of a document, cabinet only accepts files in PDF/A format. PDF/A is a specialized version of PDF suitable for archiving electronic documents. Files in a PDF/A format can have different conformance levels. The required conformity level in cabinet is 2b, but the more restrictive formats (1a, 1b, 2a, and 2u) are also accepted.
To ensure this, cabinet validates the uploaded file using the verity bundle with the integrated veraPDF validation tool. One can also validate a file without uploading it to cabinet by visiting Vera PDF.
There are multiple ways to create a compatible PDF/A file.
Scan a document as PDF/A
Some scanners make it possible to scan a document as PDF/A. For this, check the user manual of your scanner.
Adobe Acrobat
If your document is already in an electronic form, you can convert it into PDF/A using Adobe Acrobat. To do this, open the file in Acrobat, and go to All Tools -> Apply PDF Standards -> Save as PDF/A. In the newly opened window, select Settings and choose a suitable PDF/A conformance level.
To do this process with multiple files at once, use the Action Wizard in Acrobat by following the official Adobe instructions.
LibreOffice Writer
To create a PDF/A using LibreOffice Writer, go to File -> Export as ... -> Export as PDF. In the newly opened window, go to the General tab and find the section General. There you can select the suitable PDF/A version.
OnlyOffice
Go to File -> Save as ... and in the newly opened window, select the suitable PDF/A version from the dropdown.
img2pdf tool
PDF/A can even be created out of an image using the img2pdf tool. This tool is available in the command line under Linux as well as Windows, but also as a Python package.
How the data synchronization with CAMPUSonline works
The cabinet application contains two sources of data. On one side, there is data added directly and manually by the cabinet user. These are uploaded PDF/A files and the data that is added to those files. On the other side, there is data that gets synchronized from CAMPUSonline. These are the persons' information, PDF/A files generated by CAMPUSonline, and metadata of those files.
Note
Currently, all active students and those who had an active account in the university’s CAMPUSonline instance in the past are transferred to cabinet. Data of applicants is currently not contained in cabinet.
The communication between cabinet and CAMPUSonline happens via API connectors. This is further described in the Administration guide.
The data only gets synchronized in one direction: from CAMPUSonline to cabinet. This happens automatically every 10 minutes or manually per person by selecting the button Synchronize data. To ensure a quick transition between the applications, the CAMPUSonline profile of the person is linked via the button Edit data in …. This way, users can access the respective profile, which opens in a new browser tab. After users edit the data and close the CAMPUSonline tab, the new data gets automatically updated in cabinet.
Which formats and data standards are used
To ensure long-term preservation, as well as possible adjustments to future technical developments, cabinet sticks to standardized file and data formats.
Uploading files is only possible in the PDF/A (conformance level 2b, 1b, 1a, 2u, and 2a) format. To convert a document to the fitting format, see the chapter How to create and validate PDF/A files.
Each uploaded file automatically gets assigned system-defined metadata, such as upload time, modification time, and name of the person of the last modification. Additionally, users are required to fill out data as required for the selected document type, such as issue date, assignment to study field, or purpose of storage. All the system- and user-defined data is validated with JSON Schema and stored in the JSON format. Even though the data from cabinet is not meant to be exchanged with external systems and services, the vocabulary of the JSON files is mainly based on schema.org, a widely used vocabulary for structured data. However, since students' data can be quite specific, this was not possible for all data attributes. To still ensure data usage transparency, all data fields are described in the JSON Schema files.
How the grouping of documents works
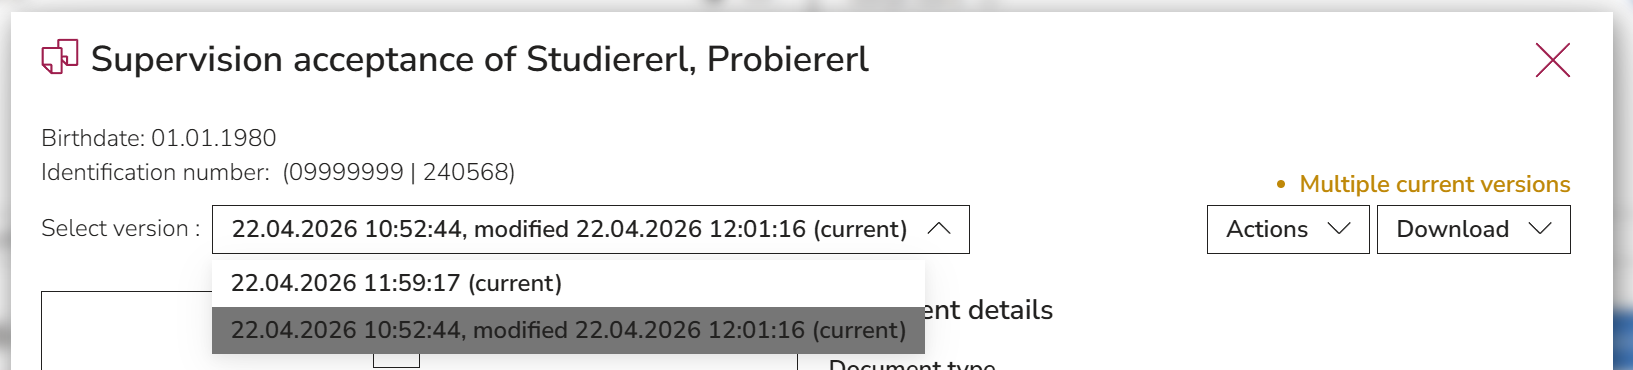
In cabinet, manually uploading documents using the Add new version option in the view of an already existing document adds this document to the same group as that already existing document by assigning it the same group ID. This grouping is then evident in the Select version dropdown in the document view, as well as in the search activity, if Include obsolete versions was selected in the facets.
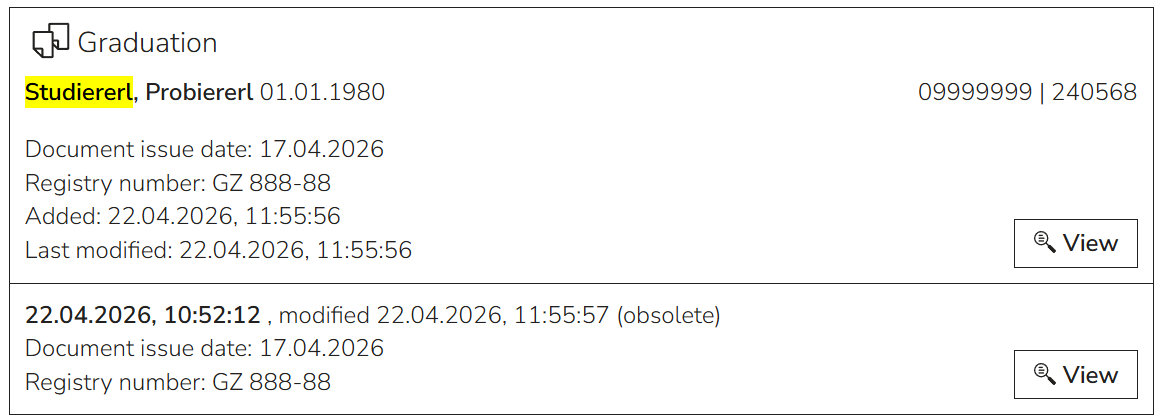
When a new version is added, it gets marked as the current version, and the previous one gets marked as obsolete. This can also be changed manually. If multiple documents are marked as current, the user gets informed with a status indicator and can set actions to repair that problem.
The criteria for grouping documents can freely be decided by your organization. We recommend an internal agreement with all employees and consistent usage of this feature.
For automatically generated documents in CAMPUSonline, the desired grouping criteria can be configured. This way, grouping happens automatically, and no manual actions are needed.
How to treat retention periods
Retention periods are a way for the user to know, when a document should be deleted or archived. The responsibility for defining those periods and for the deletion or archiving itself is in the hands of the data owner. Therefore, our system does not carry out those actions automatically.
The configuration of cabinet for a university allows the definition of the type of disposal (deletion or archiving) and the duration of storage per document type.
The document view will display the calculated retention period according to the configuration.
The filter options Only documents to delete and Only documents to archive display all documents that have reached the retention date. This makes it easier to find and select documents that require these specific actions, which can then be conducted using the mutli-selection and multi-actions functionalities.
Why not everything is translated to English
Person data values are stored in CAMPUSonline and only transferred into cabinet in German. Another exception for the translation is manually entered (i.e., user-defined) text string data values. Values that get selected from dropdowns are usually mapped to the respective German and English translations.