Greenlight
Warning
With the Austrian EU Digital COVID Certificates infrastructure being discontinued since June 2023 this blueprint is no longer functional.
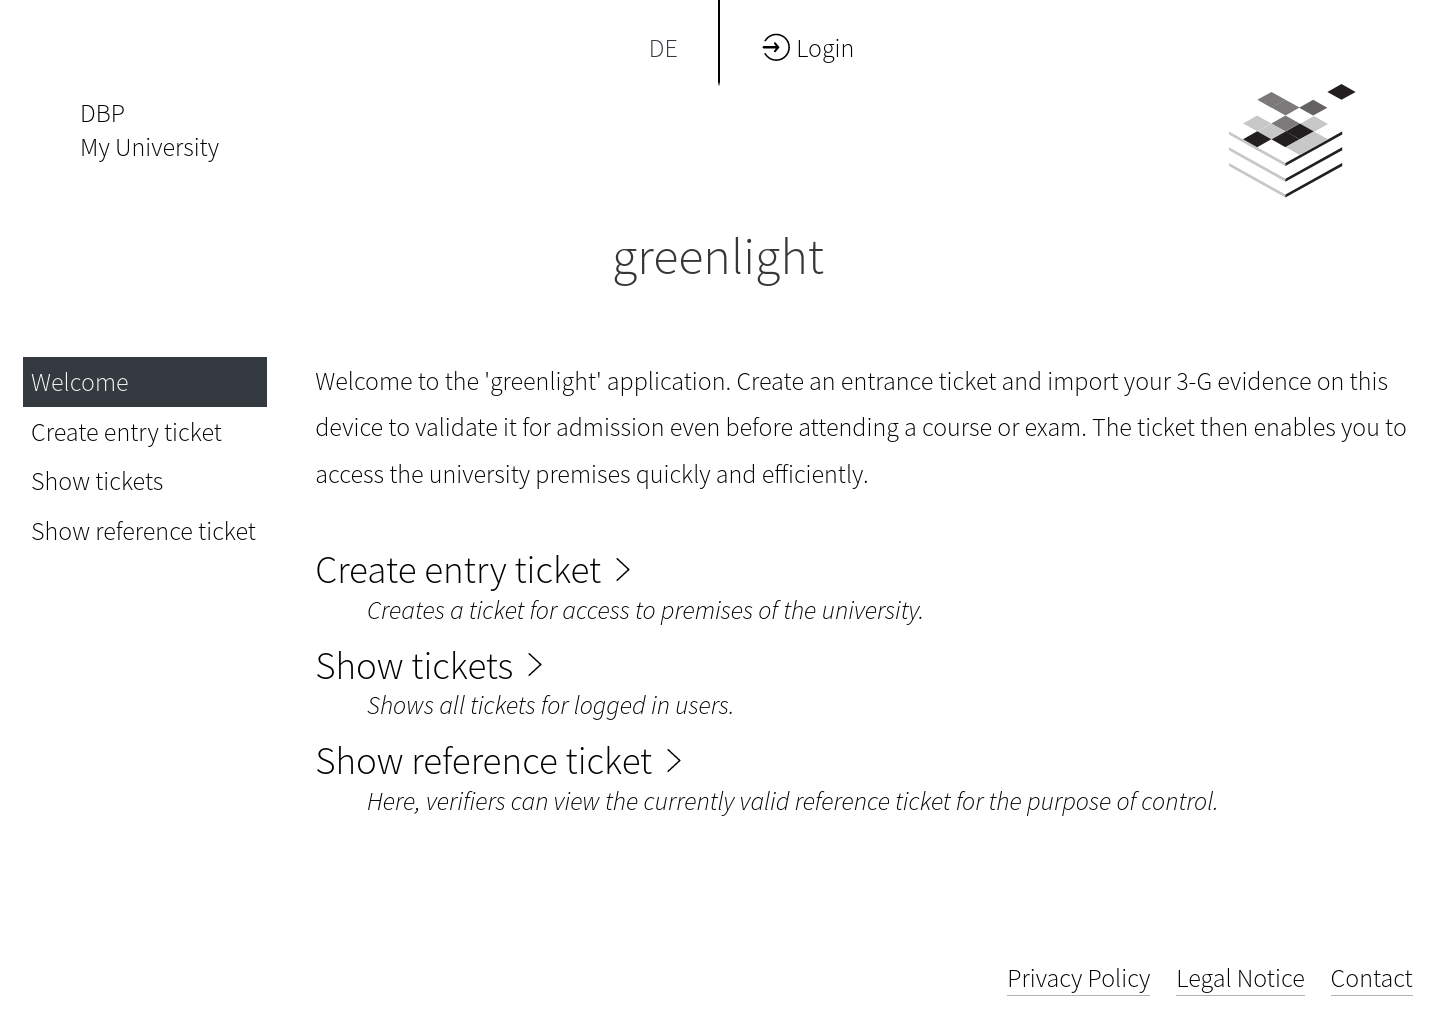
Creates an entrance ticket and import your 3-G evidence on this device to validate it for admission even before attending a course or exam. The ticket then enables you to access the university premises quickly and efficiently.
Screenshot
Example tech stack
- An LDAP server, which at least contains first name, last name, birthday and user id of the students
- A Keycloak server, which integrates with the LDAP server
- A LAMP server (Linux, Apache, MySQL/MariaDB, PHP>=8.2)
- The dependency manager for PHP Composer 2 also needs to be installed
git>= 2.25 needs to be installed- In case that the frontend will also be hosted on the same server, then npm needs to be installed too
- Several PHP extensions need to be present:
ext-ctype,ext-dom,ext-fileinfo,ext-filter,ext-json,ext-ldap,ext-libxml,ext-mbstring,ext-mysql,ext-openssl,ext-pcre,ext-reflection,ext-simplexml,ext-soap,ext-spl,ext-tokenizer,ext-xml,ext-curl,ext-gmp - Domains (or sub-domains) along with the needed TLS/SSL certificates for the Relay API web server, the frontend web server and the Keycloak server
Installation
Frontend App
You can install the frontend application with a simple command you can find on Greenlight frontend installation.
If you want to customize your frontend, please have a look at the theming and individualizing your application guide. There, an detailed description of individualizing your fonts, colors, icons, and other assets is given.
Keycloak Server
You need to install and set up the Open Source Identity and Access Management Keycloak.
Tip
There is small guide about the Keycloak Client Setup.
Relay API
This is a guide on how to set up the Relay API for Greenlight.
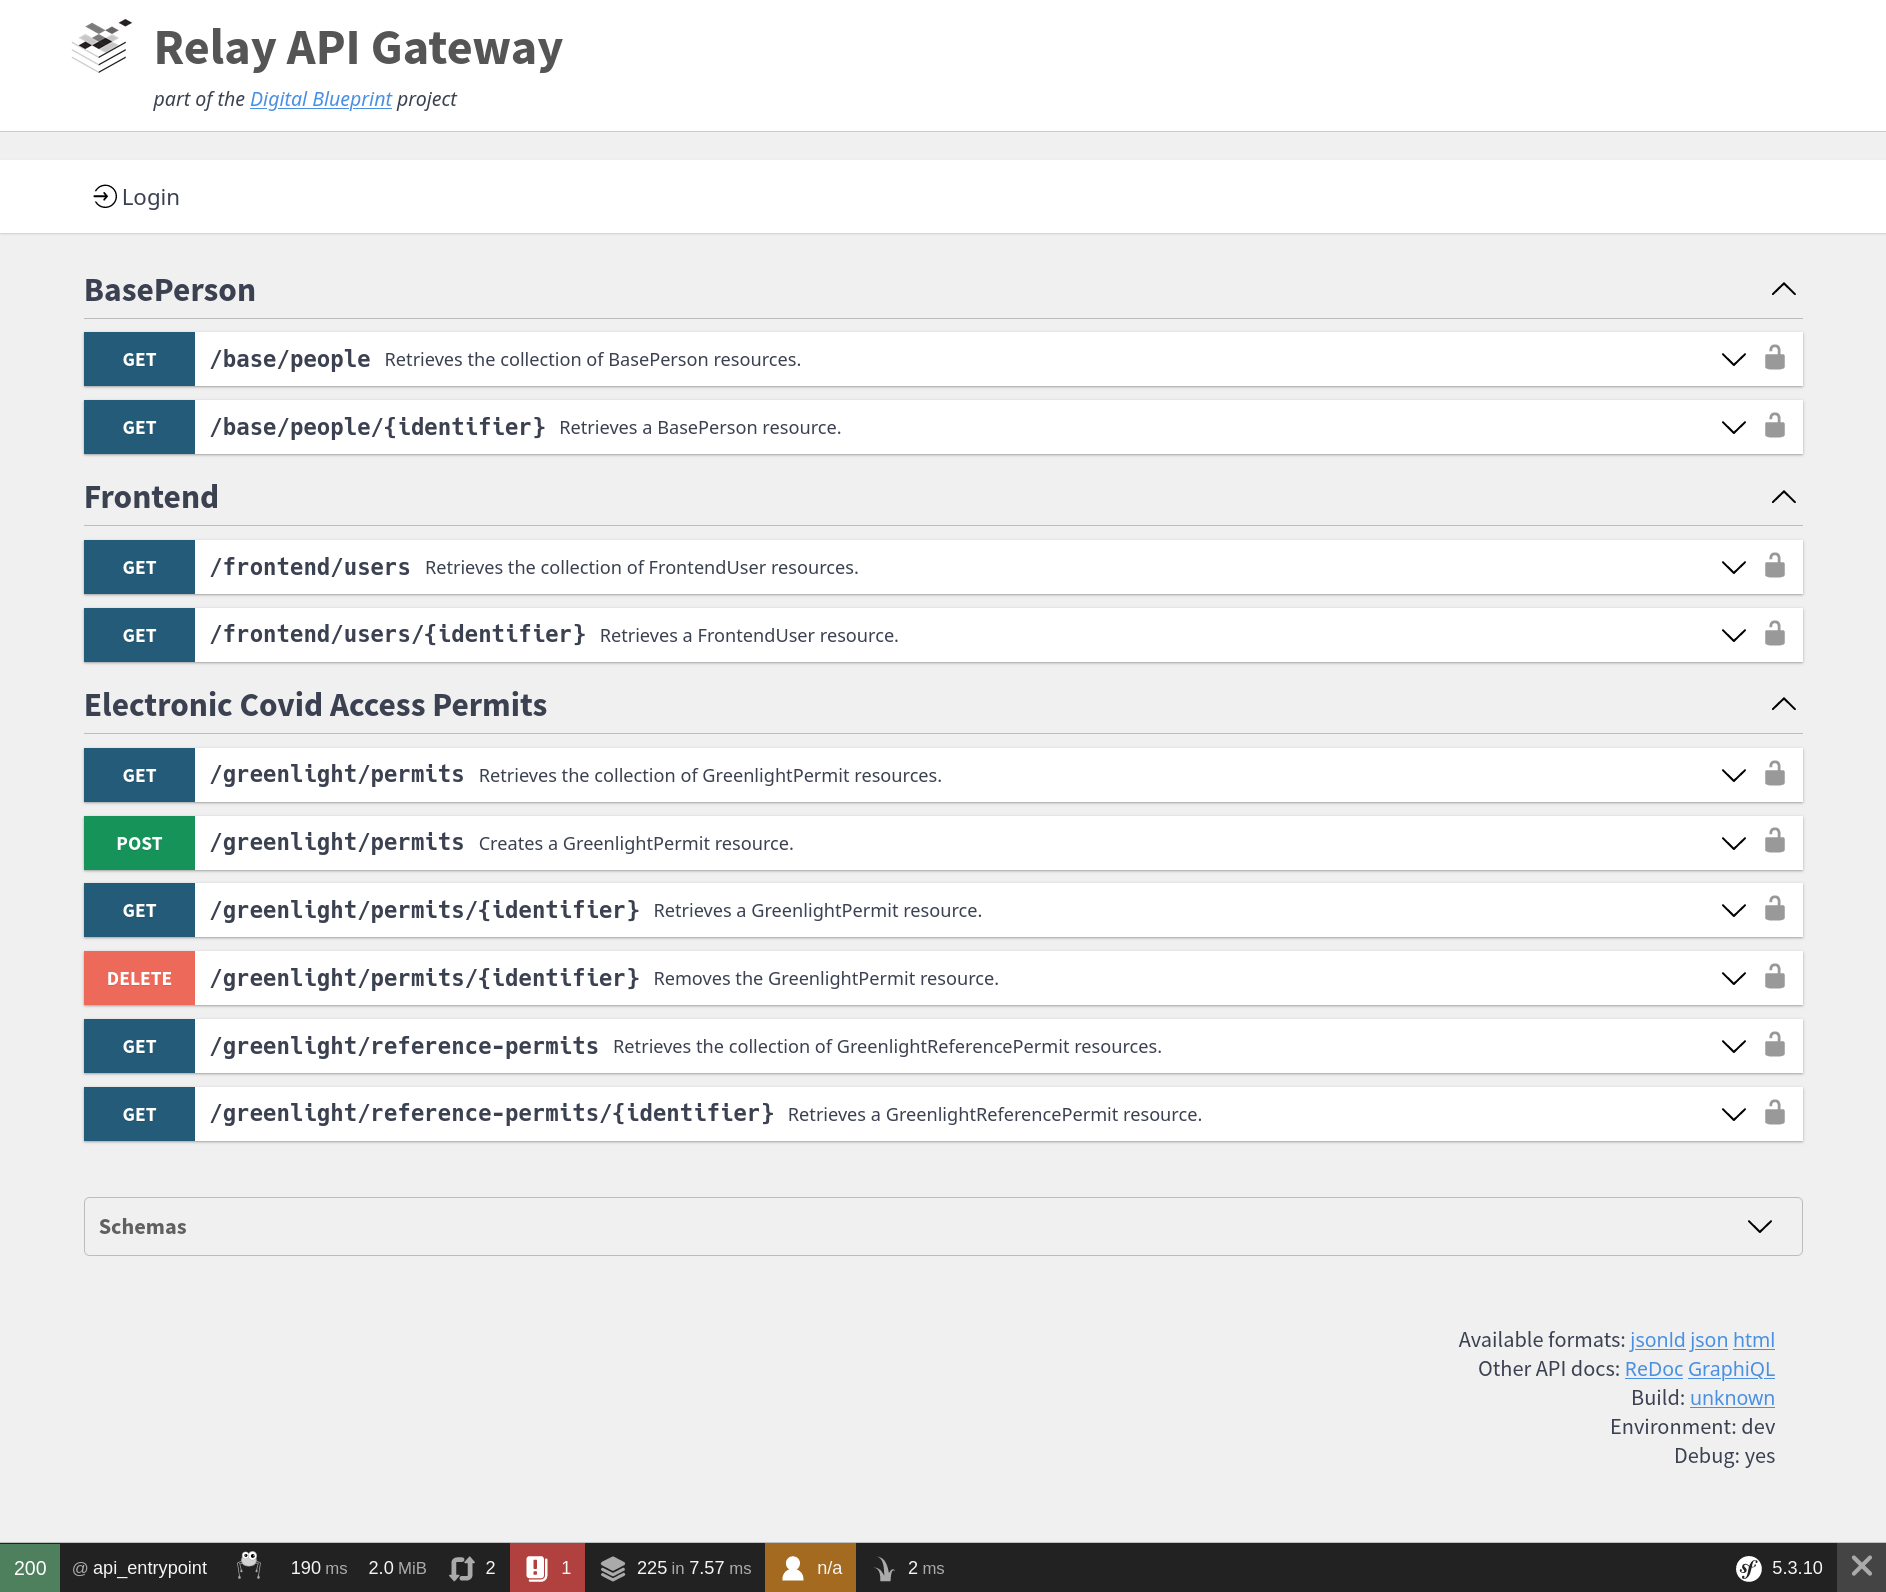
Screenshot
This is how this example will look like in the end.
PHP Modules and other packages
This should install most of the packages you will need on your webserver (if Apache and PHP are already installed):
# Install packages on Debian/Ubuntu
apt-get -y --no-install-recommends install curl sudo git php-apcu php-apcu-bc \
  php-cli php-curl php-gd php-soap php-json php-mbstring php-mysql php-opcache \
  php-readline php-xml php-intl php-zip php-fpm php-ldap php-gmp \
  openssl composer

# should show something like "PHP 8.2.x" (or higher)
php -v

# Should show something like "Composer 2.x"
composer -V
# Install Remi's RPM repository for and PHP 8.2
dnf -y install https://rpms.remirepo.net/enterprise/remi-release-8.rpm

# Install PHP 8.2
dnf -y module install php:remi-8.2

# Install packages on Redhat/CentOS
dnf -y install curl composer php php-apcu php-bcmath php-cli php-curl php-gd \
  php-soap php-json php-mbstring php-mysqlnd php-opcache php-readline php-xml \
  php-intl php-zip php-fpm php-ldap php-gmp openssl sudo git

# should show something like "PHP 8.2.x" (or higher)
php -v

# Should show something like "Composer 2.x"
composer -V
Warning
Please make sure you have installed PHP with at least version 8.2, Composer version 2 and Git with at least version 2.25!
Apache Webserver configuration
First you need to enable the Apache Rewrite module so all requests can be redirected to the index.php.
# enable mod rewrite
a2enmod rewrite
In your virtual host configuration you need to allow .htaccess files and set your DocumentRoot to the public directory.
Note that in this example /[VHOST-ROOT]/relay-api will be the path where the PHP application resides.
Warning
You need to replace /[VHOST-ROOT] with the root path of your virtual hosts!
# Allow .htaccess
<Directory /[VHOST-ROOT]/relay-api>
        Options Indexes FollowSymLinks
        AllowOverride All
        Require all granted
</Directory>

# Set DocumentRoot to public directory
<VirtualHost *:80>
    DocumentRoot "/[VHOST-ROOT]/relay-api/public"
    ServerName api.your-domain

    # Other directives here ...
</VirtualHost>
You now can restart your web server with:
sudo service apache2 restart
App and bundle install
We will use the DBP API Server Template as starting point for our implementation.
Tip
Keep in mind that your current user needs to have permissions to
create files and directories in the /[VHOST-ROOT] directory for this example.
# You need to replace "/[VHOST-ROOT]" with the root path of your virtual hosts!
# And keep in mind that your current user needs to have permissions to
# create files and directories in the "/[VHOST-ROOT]" directory.
cd /[VHOST-ROOT]

# Install the DBP API Server Template (https://github.com/digital-blueprint/relay-server-template)
# as base Symfony PHP application
# The relay-api/public directory then is the directory to let the webserver point at
composer create-project dbp/relay-server-template relay-api

# Change to app directory
cd relay-api

# Install the Base Person Bundle (https://github.com/digital-blueprint/relay-base-person-bundle),
# which contains entities required by many bundles for the DBP Relay project.
composer require dbp/relay-base-person-bundle

# If you are using LDAP as your source for identity management, you can install and configure the
# BasePerson Connector Bundle for LDAP (https://github.com/digital-blueprint/relay-base-person-connector-ldap-bundle),
# which allows you to connect the Base Person Bundle to your LDAP server.
composer require dbp/relay-base-person-connector-ldap-bundle

# Install the Frontend Bundle (https://github.com/digital-blueprint/relay-base-person-connector-ldap-bundle),
# which contains APIs mostly useful for frontend apps.
# It is a required dependency for all DBP frontend apps.
composer require dbp/relay-frontend-bundle

# Install the Greenlight Bundle (https://github.com/digital-blueprint/relay-greenlight-bundle),
# which allows you to create permits for the Covid19 certificate evaluation process.
composer require dbp/relay-greenlight-bundle
Tip
Executing composer check-platform-reqs shows that the required PHP extensions are installed.
OIDC Bundle config
Follow the these steps to configure the OIDC Bundle: Configure the Core Connector OIDC Bundle
Greenlight Bundle config
You need to Configure the Greenlight Bundle, so it can talk to database.
Adapt all GREENLIGHT_ settings in your .env.
GREENLIGHT_DATABASE_URL=mysql://user:secret@mariadb:3306/db
Tip
Consider putting the GREENLIGHT_DATABASE_URL in your .env.local file, because of the password to the database.
Afterwards you need to run the database migration command to set up all the required tables.
php bin/console doctrine:migrations:migrate --em=dbp_relay_greenlight_bundle
Also, you need to set up a cron job to run
*/5 * * * * php /srv/api/bin/console dbp:relay:core:cron
This will regularly clean up caches and expired permits etc.
Connect Greenlight Bundle to your infrastructure
Tip
If you are using CampusOnline for storing photos and LDAP as your source for identity management, you can install the
Greenlight Connector Bundle for CampusOnline,
which fetches images for DbpRelayGreenlightBundle
from CampusOnline, while retrieving the co-obfuscated-c-ident from LDAP
There is a guide at [Greenlight Connector Bundle for CampusOnline and LDAP](../components/api/greenlight-connector-campusonline/config.md),
that walks you through the steps to set up the CampusOnline connector.
Afterwards best do a composer install to make sure caches are cleared and everything is in order.
Connect Base Person Bundle to your infrastructure
You need to implement a service for PersonProviderInterface from Base Person Bundle.
Tip
If you are using LDAP as your source for identity management, you can install the BasePerson Connector Bundle for LDAP, which allows you to connect the Base Person Bundle to your LDAP server.
There is a guide at [BasePerson Connector Bundle for LDAP](../components/api/base-person-connector-ldap/config.md),
that walks you through the steps to set up the LDAP connector.
Afterwards best do a composer install to make sure caches are cleared and everything is in order.
Health Checks
If you are finished setting up and configuring the API server you can run the builtin health checks to ensure that all external systems are reachable and correctly hooked up.
Simply run the following in the API server directory:
./bin/console dbp:relay:core:check-health
If everything is working it should print something like:
[greenlight-campusonline-connector]
  Check if we can connect to the LDAP server: [SUCCESS]
  Check if the LDAP server contains records: [SUCCESS]
  Check if all configured LDAP attributes exist: [SUCCESS]
  Check if we can connect to the CAMPUSonline API: [SUCCESS]
[core.symfony]
  APP_SECRET should be set: [SUCCESS]
  APP_ENV should be set to 'prod': [SUCCESS]
[core.system]
  Check if DNS is working: [SUCCESS]
  Check if TLS is working: [SUCCESS]
Running in Production
When you are done with setting things up please visit Running in Production to learn how to run the Relay API in production.
All done
🥳 Now your Greenlight application is ready to be used 🥳